How to Restart Optical Drive on Dell Optiplex 3010 Desktop Computer
Introduction
Dealing with an unresponsive optical drive can be frustrating, especially when you’re trying to access important data or enjoy multimedia content. Restarting the optical drive on your Dell Optiplex 3010 desktop computer can resolve many common issues. This guide will walk you through the process, ensuring your optical drive functions correctly.
Understanding the Dell Optiplex 3010 Optical Drive
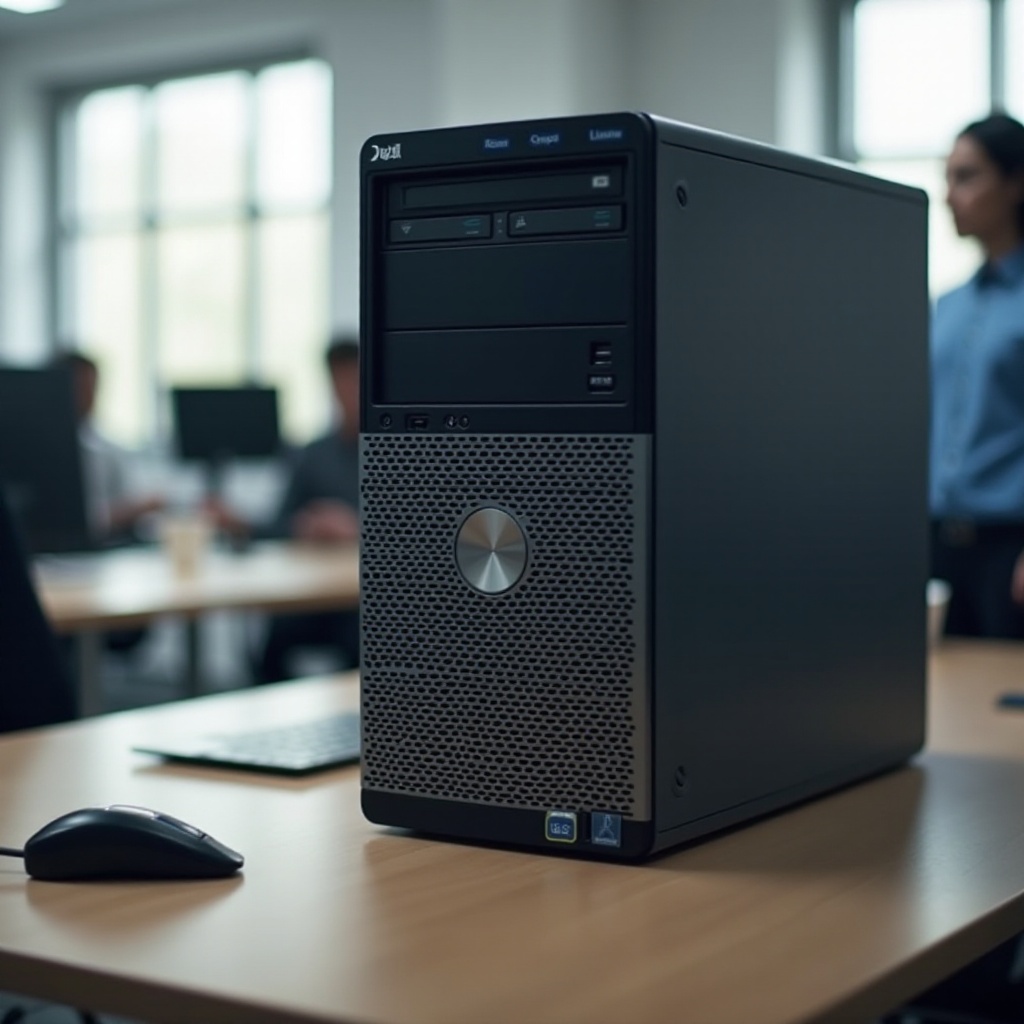
The Dell Optiplex 3010 is equipped with a reliable optical drive that is capable of reading and writing CDs and DVDs. An optical drive is an essential component for many users who rely on physical media for data storage, software installation, and entertainment purposes. However, like any hardware, the optical drive can occasionally malfunction or become unresponsive.
Understanding the functionality and common issues related to your optical drive is crucial before attempting any fixes. Common problems might include the drive not being recognized by the system, issues with reading or writing discs, or trouble with the drive tray not ejecting properly.
Preparation Before Restarting the Optical Drive
Before attempting to restart the optical drive, ensuring that you have all the necessary tools and have taken any preliminary steps is important. Follow these preparatory steps:
- Tools Needed: A small Phillips-head screwdriver and a static wrist strap (optional) to prevent static discharge.
- Backup Data: Ensure that you have backed up any critical data from your computer to avoid unexpected data loss during the process.
- Shutdown: Make sure to completely shut down your computer and disconnect it from the power source to ensure safety.
Step-by-Step Guide to Restarting Your Optical Drive
Power Down and Disconnect the Computer
- Shut Down: Properly shut down your Dell Optiplex 3010.
- Power Off: Disconnect the power cable and any peripherals connected to your computer.
- Remove Power Supply: Press and hold the power button for a few seconds after unplugging to drain residual power.
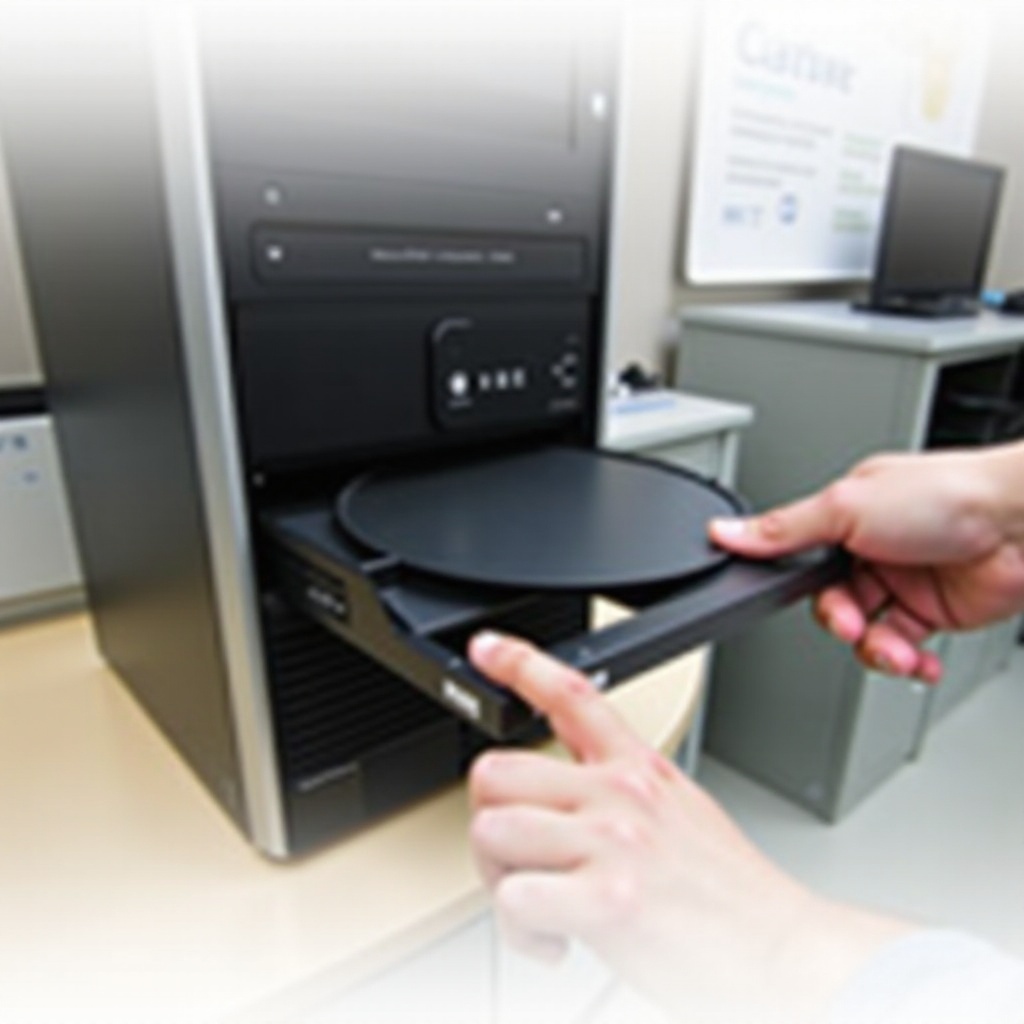
Accessing the Optical Drive
- Open the Case: Remove the screws securing the side panel of the computer case using a Phillips-head screwdriver.
- Locate the Drive: Find the optical drive within the case. It is usually positioned at the front of the case.
- Disconnect the Drive: Carefully detach the power and data cables from the back of the optical drive.
Reconnecting and Testing the Drive
- Reattach Cables: Reconnect the power and data cables securely to the back of the optical drive.
- Secure the Case: Reattach the side panel of the computer case and secure it with screws.
- Power On: Plug in the power cable and peripherals, then power on your Dell Optiplex 3010.
- Test the Drive: Insert a disc into the drive to ensure it is working correctly and recognized by the system.
Troubleshooting Common Problems
Sometimes, restarting the optical drive might not immediately fix the issue. Here are common problems and how to tackle them:
Optical Drive Not Detected
- Check Connection: Ensure that the data and power cables are properly connected.
- BIOS Settings: Enter the BIOS setup during startup and verify that the drive is recognized.
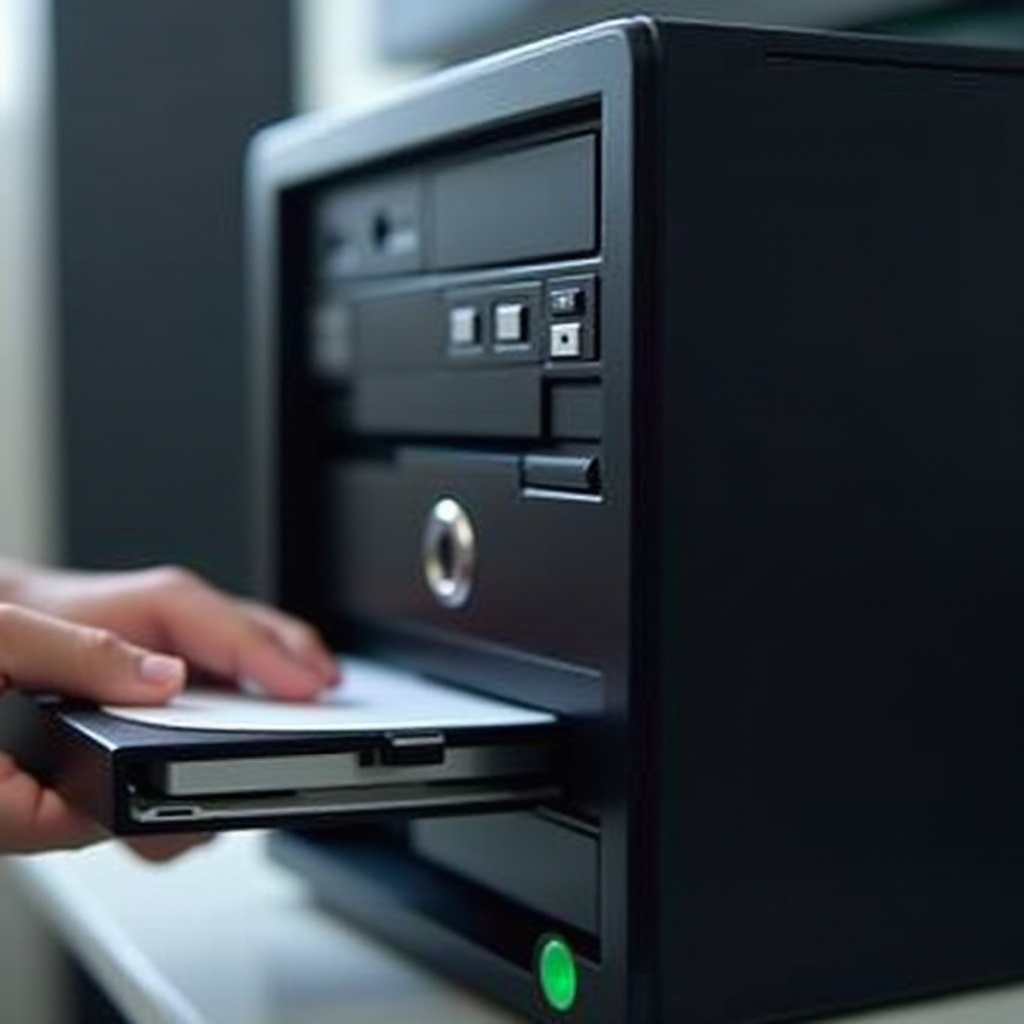
Reading or Writing Errors
- Clean the Laser Lens: Use a laser lens cleaning disc to clean the drive’s lens.
- Try Different Media: Ensure the discs you are using are not scratched or damaged.
Drive Eject Issues
- Manual Eject: Use the manual eject mechanism (usually a tiny hole) to open the drive.
- Check for Obstruction: Ensure nothing is physically blocking the drive tray.
Maintenance Tips for Optical Drives
Keeping your optical drive in good shape is essential for its longevity and performance.
Regular Cleaning
Use a laser lens cleaning disc to remove dust and debris from the laser lens every few months.
Firmware Updates
Check the Dell support website periodically for any firmware updates for your optical drive and install them to ensure optimal performance.
Avoiding Physical Damage
Handle discs carefully and avoid forcing the tray open or closed to prevent damaging the hardware.
Conclusion
Restarting the optical drive on your Dell Optiplex 3010 is a straightforward task that can resolve many common issues. Ensure you follow the steps carefully and take necessary precautions. With regular maintenance, your optical drive can continue operating efficiently for a long time.
Frequently Asked Questions
What should I do if my optical drive is still not working after a restart?
If the drive remains unresponsive, check the connections, update the drivers, and consider running diagnostics from the Dell support website.
How often should I clean my optical drive?
Cleaning the optical drive with a cleaning disc every three to six months is typically sufficient to maintain good performance.
Can I use third-party software to troubleshoot optical drive issues?
Yes, third-party diagnostic and repair software can help identify and fix specific issues with your optical drive. However, always ensure the software is reputable and compatible with your system.